Sashiko does not need a large toolkit. You need thread, a needle, cloth, a way to mark the pattern, and something to protect the finger or palm that pushes the needle.
A few good tools are enough to begin, and most of them will last for years. This guide covers what to buy first, what to skip, and where the tool choice actually changes the stitching.
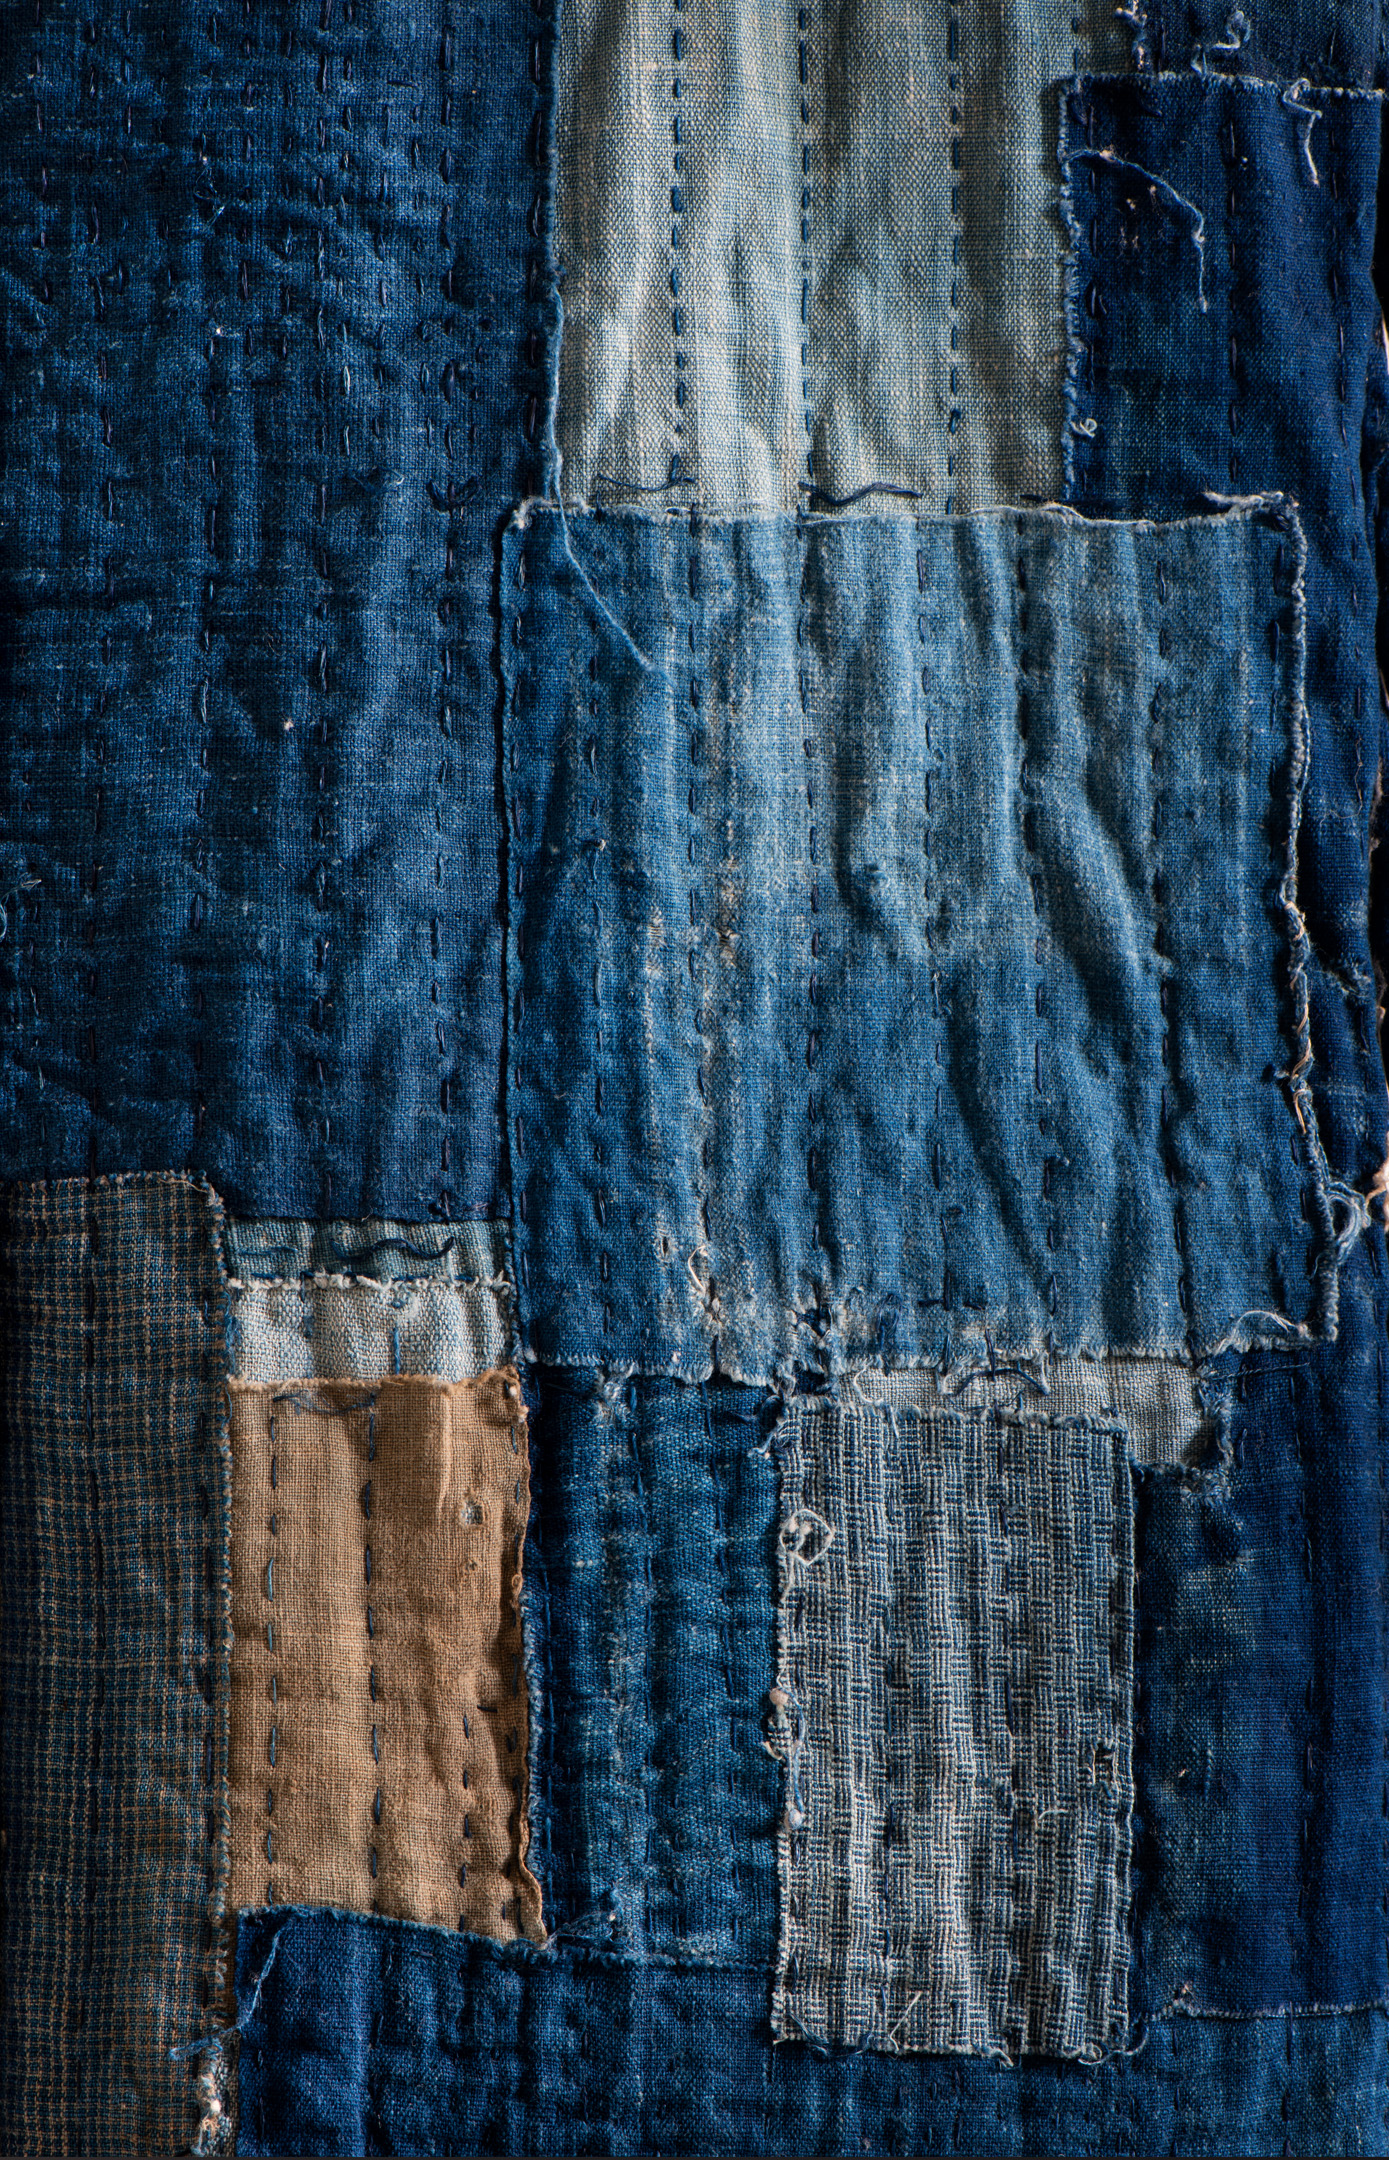
Thread
Sashiko thread is not embroidery floss. That distinction matters more than almost anything else in your starter kit.
Embroidery floss is designed to be separated; you split off the number of strands you need and work with those. Sashiko thread is different. It is a four- or six-ply cord of 100% cotton, tightly twisted and worked whole.
Use it exactly as it comes off the skein. Do not split it into plies the way you would floss. That tight twist is what makes a sashiko stitch sit up cleanly on the cloth.
The matte finish gives sashiko its flat, quilted look. The tight twist helps the thread survive repeated needle passes without fraying too quickly.
Weight. Sashiko thread comes in two main weights. The thicker weight makes bold, prominent stitches and suits large geometric patterns. The thinner weight suits dense grids, fine hitomezashi, or projects where you want texture more than thickness. If you’re not sure which to buy first, start with the standard weight.
Packaging. Thread comes on skeins (wound hanks) or pre-wound cards. Skeins are more economical for long projects; cards are neater for storing small quantities. Either works.
Color. White thread on indigo-dyed cloth is the defining image of sashiko, and it is still a great starting point. Calm, colorfast cottons also work well: soft natural tones, warm grays, dusty blues. Avoid anything too shiny or synthetic-looking.
What to look for: matte finish (not glossy), minimal fraying when pulled through fabric, and colorfastness (run the skein briefly under water if you’re unsure — a good thread won’t bleed onto light cloth).
Brands to trust: Olympus and Daruma (Yokota) are longstanding Japanese manufacturers. Either is a reliable first purchase, and many experienced stitchers keep both on hand.
Needles
Sashiko needles are longer and stiffer than standard embroidery needles. That length is part of the technique.
The goal in sashiko is to load several stitches onto the needle before pulling it through. That rocking action creates even stitch and gap lengths.
The needle needs to be long enough to hold those stitches, and stiff enough not to flex unpredictably. A standard embroidery needle is too short and too fine, and the eye is usually too small for heavier sashiko thread.
Sashiko needles also have a long, open eye designed to accept thicker thread without shredding it. A smooth, wide eye keeps the thread from fraying as it passes through the fabric again and again.
Length. Longer needles suit straight lines and grid patterns where you can rock the needle through several stitches in one movement. Shorter sashiko needles are useful for curves, tight repeating shapes, and patterns where the needle needs to change direction frequently.
Brands to trust: Tulip makes excellent sashiko needles, with consistent quality and very smooth eyes. Olympus and Clover both make reliable needles at a more accessible price point. For most people starting out, a pack of Clover or Olympus needles is enough.
Thimble
Sashiko is pushed, not pulled. That changes the thimble you need.
In most Western hand-sewing traditions, a thimble sits on the fingertip. In sashiko, the needle is pushed with the side or palm of the middle finger, depending on how you hold the work. The part that needs protection is the pad or base of the finger, where the needle eye presses again and again.
The traditional answer is a palm thimble or coin thimble: a flat or slightly domed plate that sits at the base of the middle finger, or a plain coin-plate held against the palm. Metal coin thimbles are durable. Leather palm thimbles are softer and more comfortable for long sessions.
For a short session, you can get away without a thimble. For anything longer, the repeated pressure builds quickly and your finger will feel it.
Western fingertip thimbles can work in a pinch, but they do not protect the right part of the hand. If you find yourself gripping the needle awkwardly, switch to a palm or coin thimble.
Fabric
The cloth needs to be strong enough to support dense stitching and repeated washing, but not so tightly woven that it fights the needle.
A plain-weave cotton or cotton-linen blend at medium weight is the ideal starting point. Look for an even weave with a fairly low thread count: dense enough to hold the stitching, but open enough that the needle passes through without a fight.
The needle should slide through the weave without force. If you have to push hard, the fabric is either too dense or too tightly finished.
Prewash your fabric before you start. Commercial cloth is finished with sizing (a starch or resin coating that makes it stiffer and smoother for cutting) that will wash out eventually. If you prewash, the cloth relaxes to its finished state before you transfer the pattern, so the grid doesn’t distort when you wash the finished piece.
Creasing. You’ll need to fold and crease the cloth to find the center and align grid lines. Look for fabric that holds a pressed crease well — thin synthetic blends often spring back immediately, which makes grid alignment unnecessarily difficult.
Color. Indigo-dyed cotton is traditional and still one of the most satisfying cloths to work on — the white thread reads clearly against it, and the contrast is striking. But undyed or naturally colored linens, creams, and warm grays are equally traditional from some regional styles, and they photograph beautifully. Start with whatever you find most appealing.
What to avoid: Very sheer or loosely woven cloth that will distort under tension, highly textured weaves like tweed or canvas that snag the thread, and synthetics (nylon, polyester) that melt or fray unpredictably under an iron.
Marking and transferring the pattern
Getting the pattern onto the fabric cleanly is one of the parts beginners underestimate. The stitching is only as precise as the transfer.
Choose the tool by cloth: a water-soluble or heat-erasable pen over a light source for pale fabric, dressmaker’s carbon for dark or indigo cloth, printable water-soluble stabilizer for dense grids, or a traditional hera for straight creased lines with no ink.
Each method is covered step by step in the pattern transfer guide. One tip matters here: keep heat-erasable pens for light, undyed cloth. Heat can leave a faint ghost line in solid-dyed or indigo fabric.
A few nice-to-haves
Thread snips. A small pair of embroidery scissors or thread snips earns its place on the table. You’ll be cutting thread frequently, and a dedicated pair is much cleaner than reaching for dressmaking shears every time.
A ruler. Any ordinary ruler is fine for finding centers and spacing out grid lines — you don’t need a special quilter’s ruler. A plain straightedge and a little care do the job.
Embroidery hoop. Sashiko is traditionally worked without a hoop. The cloth is gathered loosely in the non-dominant hand, and the needle rocks through the folds. A hoop can actually work against the technique by pulling the fabric taut, which makes it harder to load multiple stitches at once.
That said, beginners sometimes find a hoop helpful for keeping even tension across larger pieces, and there’s nothing wrong with using one while you develop the feel for the stitch rhythm. If you use a hoop, choose a wooden one (good friction, won’t slip) and loosen it between sessions so it doesn’t leave a permanent ring on the cloth.
A simple starter kit
This is enough to begin:
- White sashiko thread (standard weight), one skein
- A pack of sashiko needles (Clover, Olympus, or Tulip)
- A palm or coin thimble
- Half a meter of plain cotton fabric (natural or indigo)
- A water-soluble transfer pen
- Small thread snips
Six items. Most of it is reusable; the thread and fabric are the consumables. You do not need a special setup, just these tools, a printed pattern, and a good light source.
With your tools gathered, the next steps are getting a pattern onto the cloth — see how to transfer a sashiko pattern — and then how to stitch sashiko.