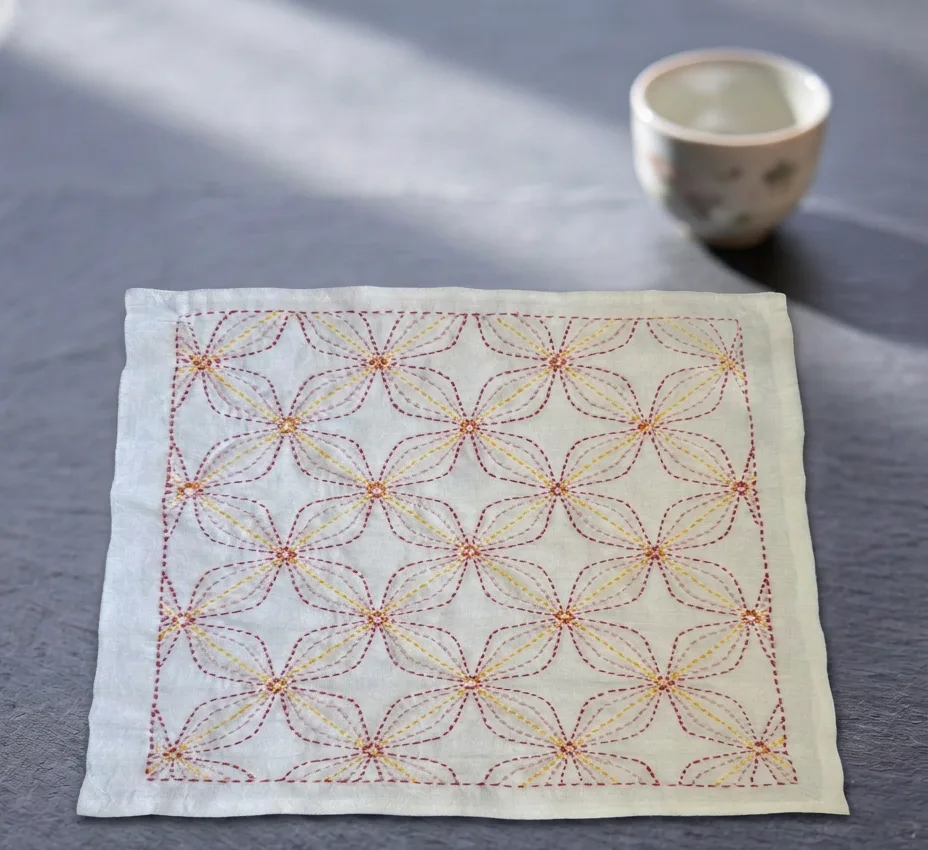
A hanafukin is a small, doubled square of cloth, traditionally sarashi, stitched with sashiko for both decoration and durability. It is one of the most practical ways to learn sashiko: small enough to finish, useful enough to keep in the kitchen, and sturdy enough to wash.
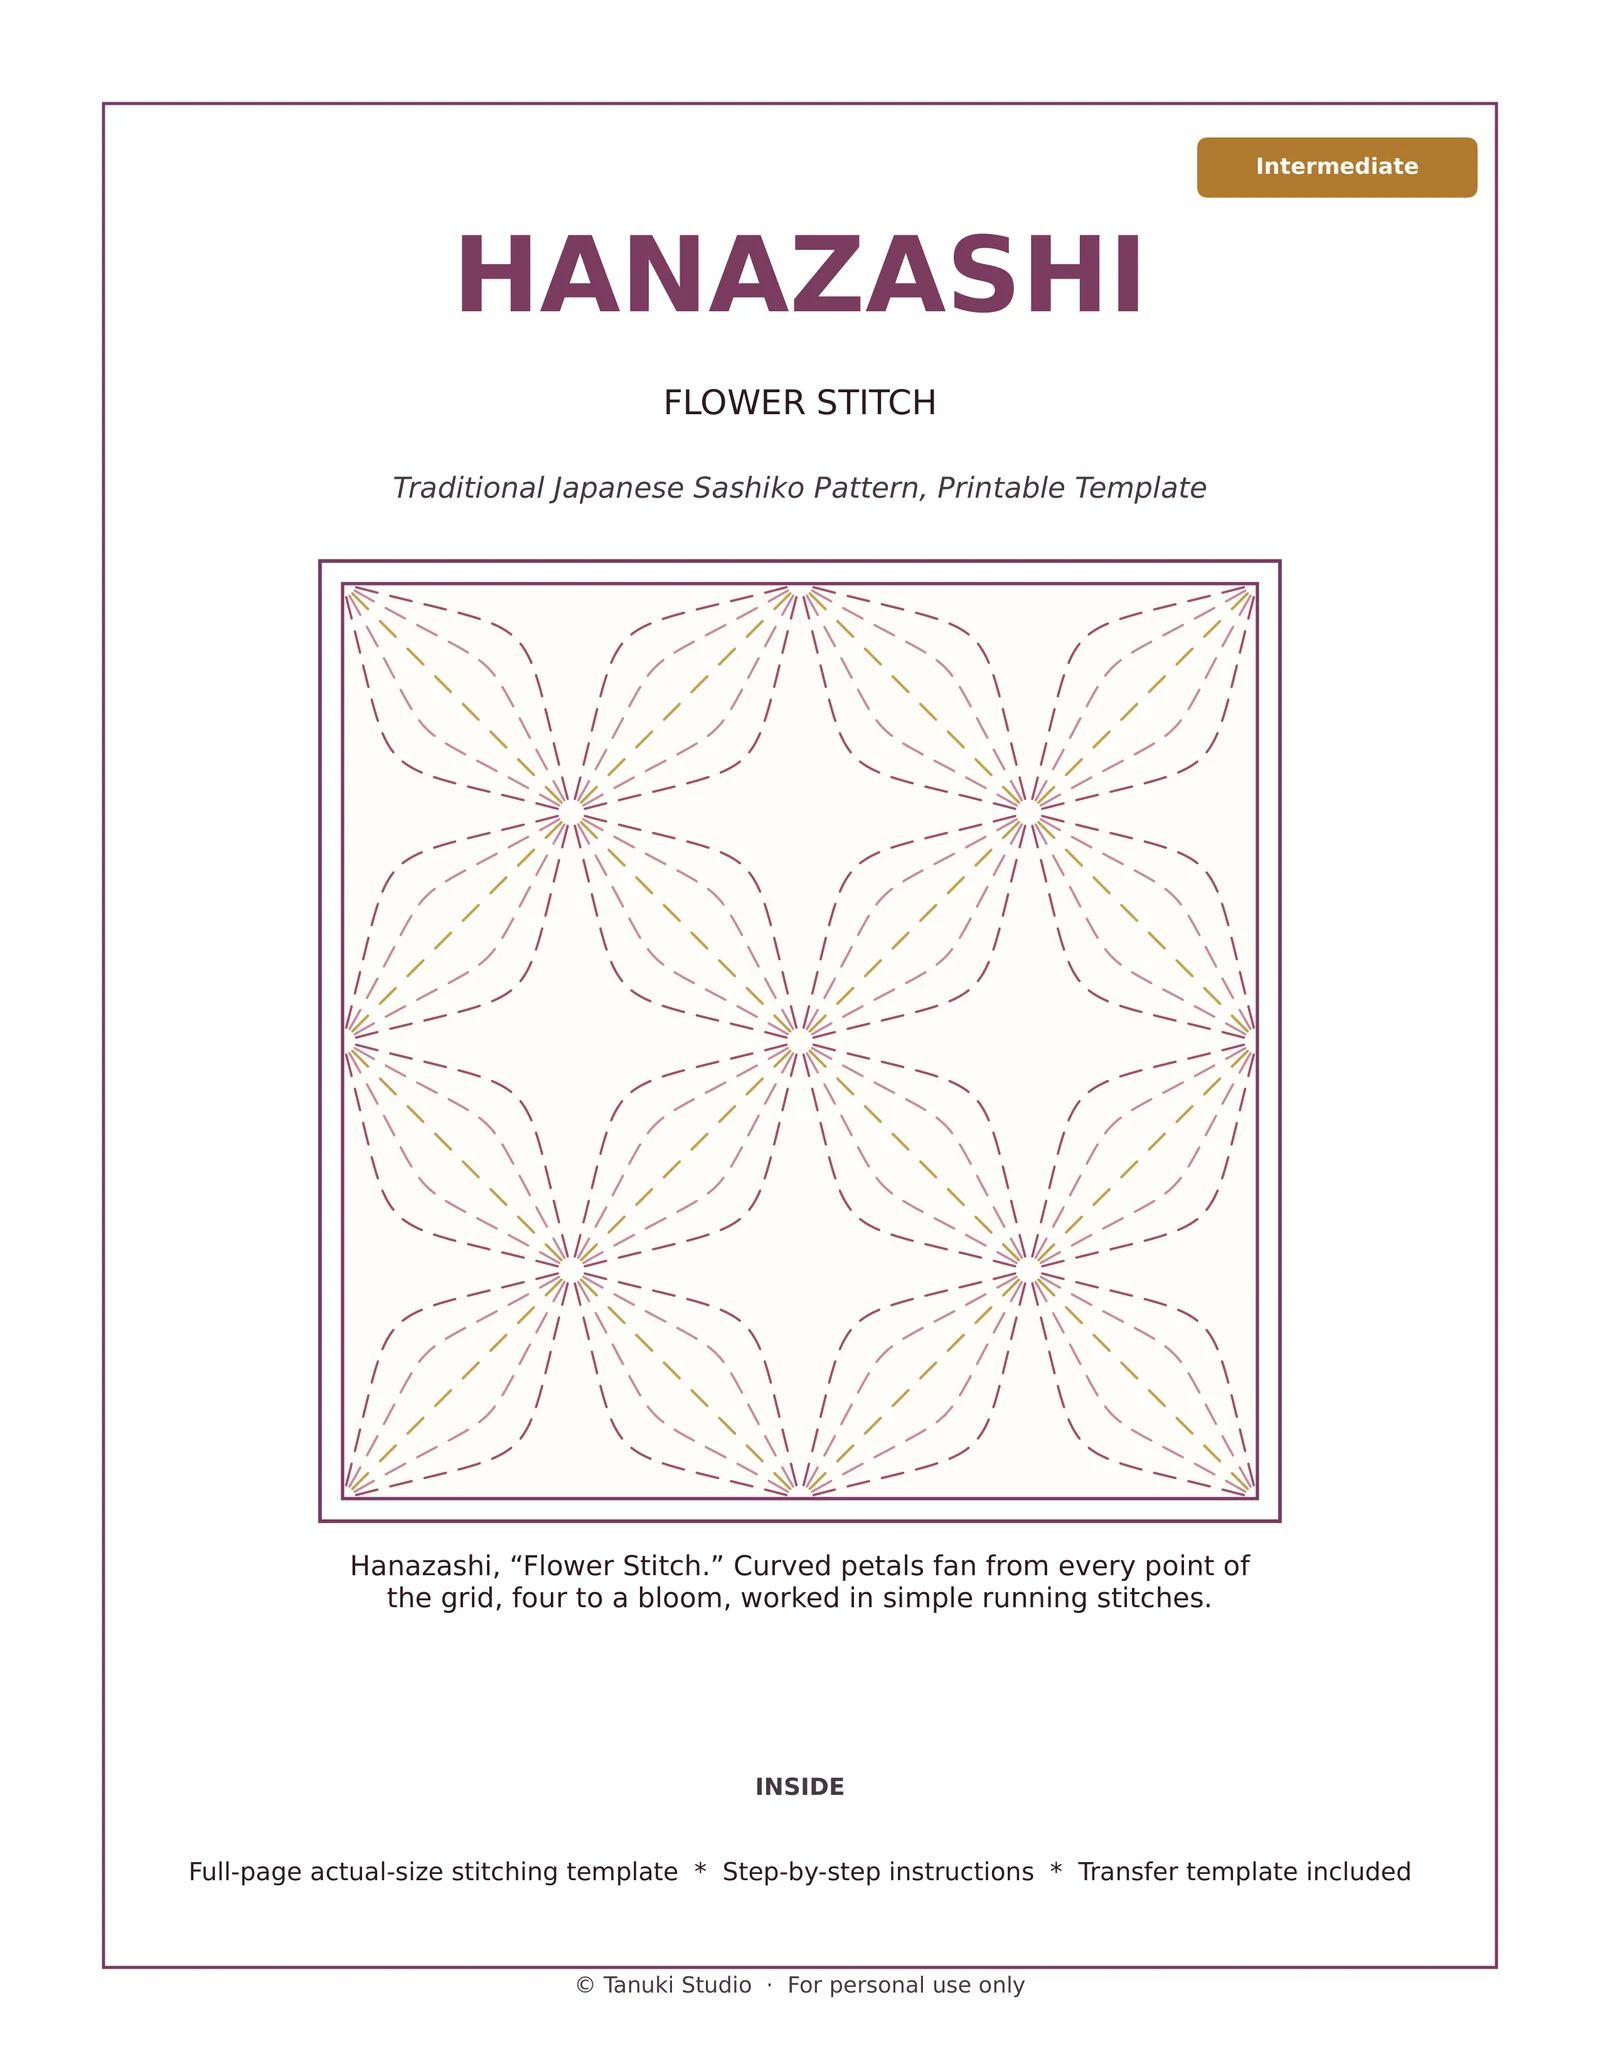
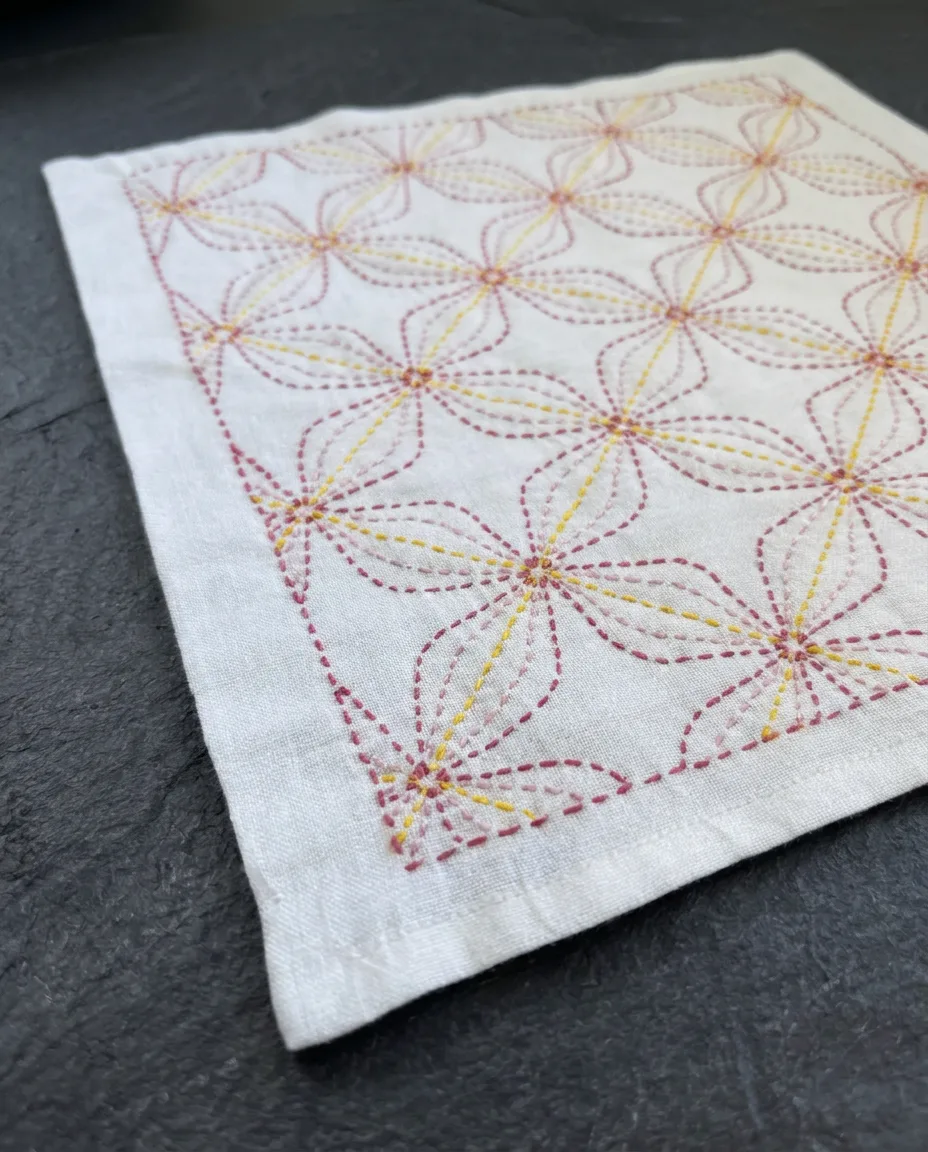
I kept that shape and construction: a roughly 13-inch square, doubled and folded, stitched edge to edge in Hanazashi (opens Payhip in a new tab) (“flower stitch”), a pattern of curved four-petal flowers.
Sarashi is not always simple to find, so I used plain cotton flour sack towels instead. Sarashi is lighter and more absorbent, but this sturdier cotton handled the doubled layers and stitching well.
Cutting and prepping the fabric
I started with a 28-inch flour sack towel and ended with a doubled square, roughly 13 inches finished. If your cloth is already cut and folded, skip straight to marking.
- Wash and iron the towel first, hem still intact. Fresh cotton relaxes and shrinks a little on its first wash. Washing before cutting also keeps the raw edges from fraying loose.
- Remove the existing hem. Take out the towel’s existing hem on all four edges.
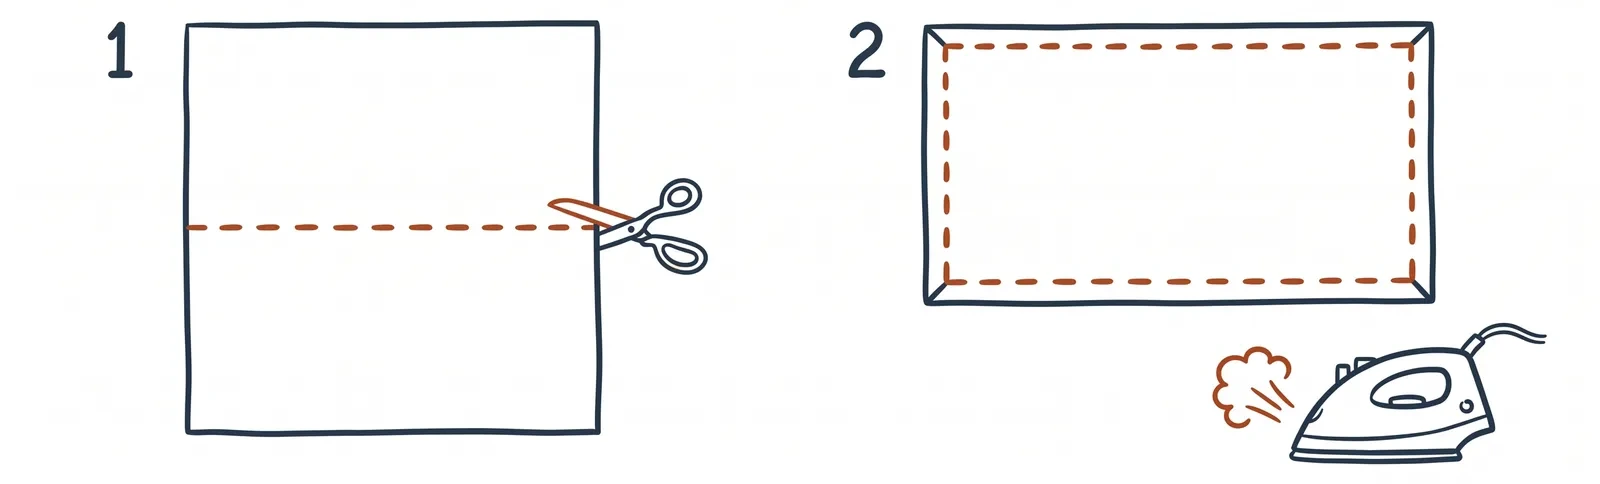
- Cut the towel in half. This gives one ~14-inch x 28-inch piece. (Save the other half for a second piece.)
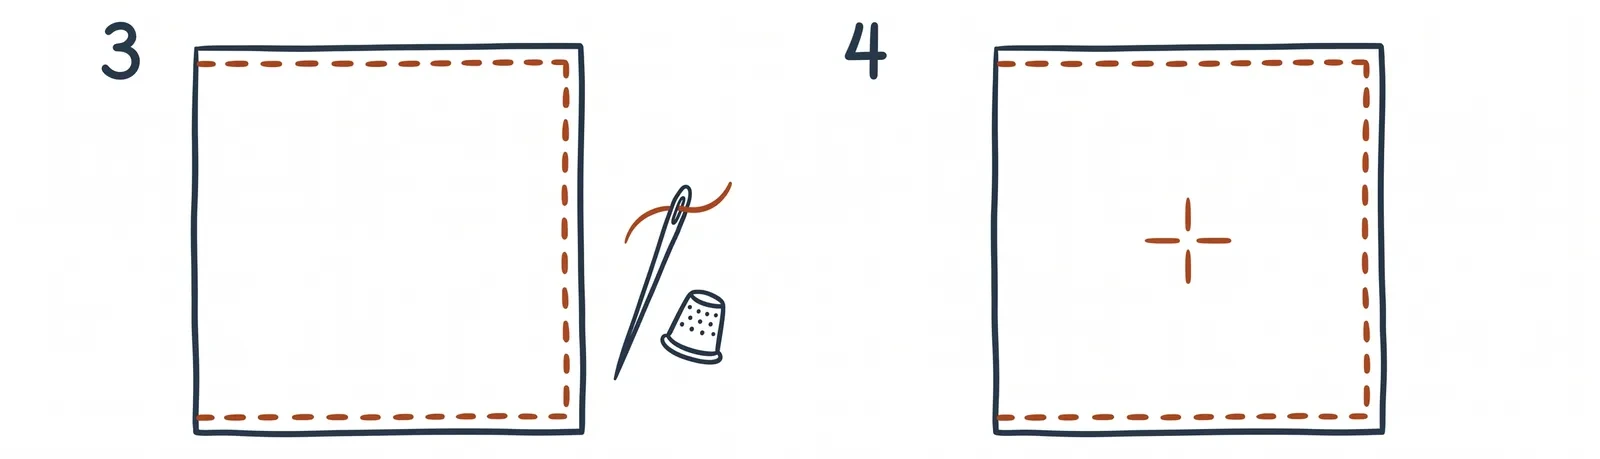
- Fold the edges under and iron them flat. Fold a small amount of each edge over to the back and press it flat. This tucks the raw edges out of sight before you sew anything.
- Fold it in half and close the three open sides. Bring the two short 14-inch ends together, line up the folded edges, and hand-stitch around the three open sides with an invisible stitch. The finished cloth will land around 12 to 13 inches square, depending on your folded edge allowance.
- Find your center point. The fold line marks the halfway point of the original 28-inch length; find the center point of the resulting square from there before you start marking.
Marking the pattern
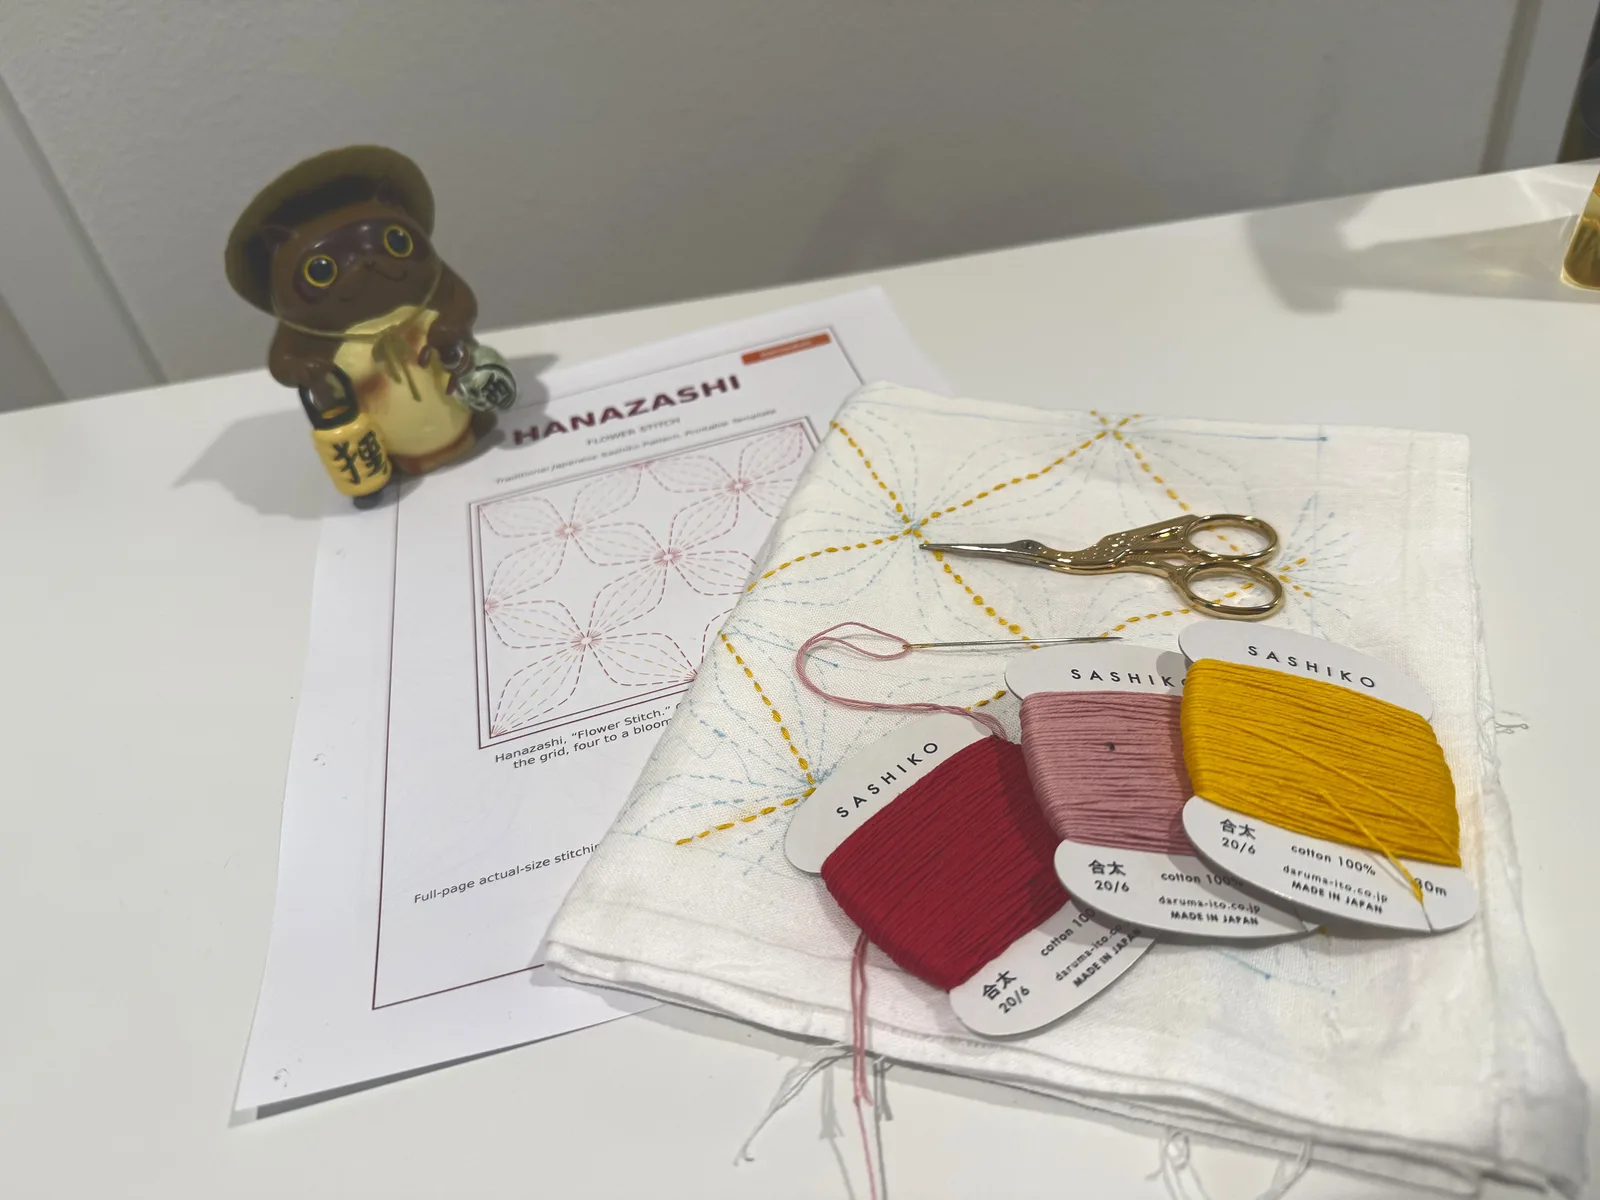
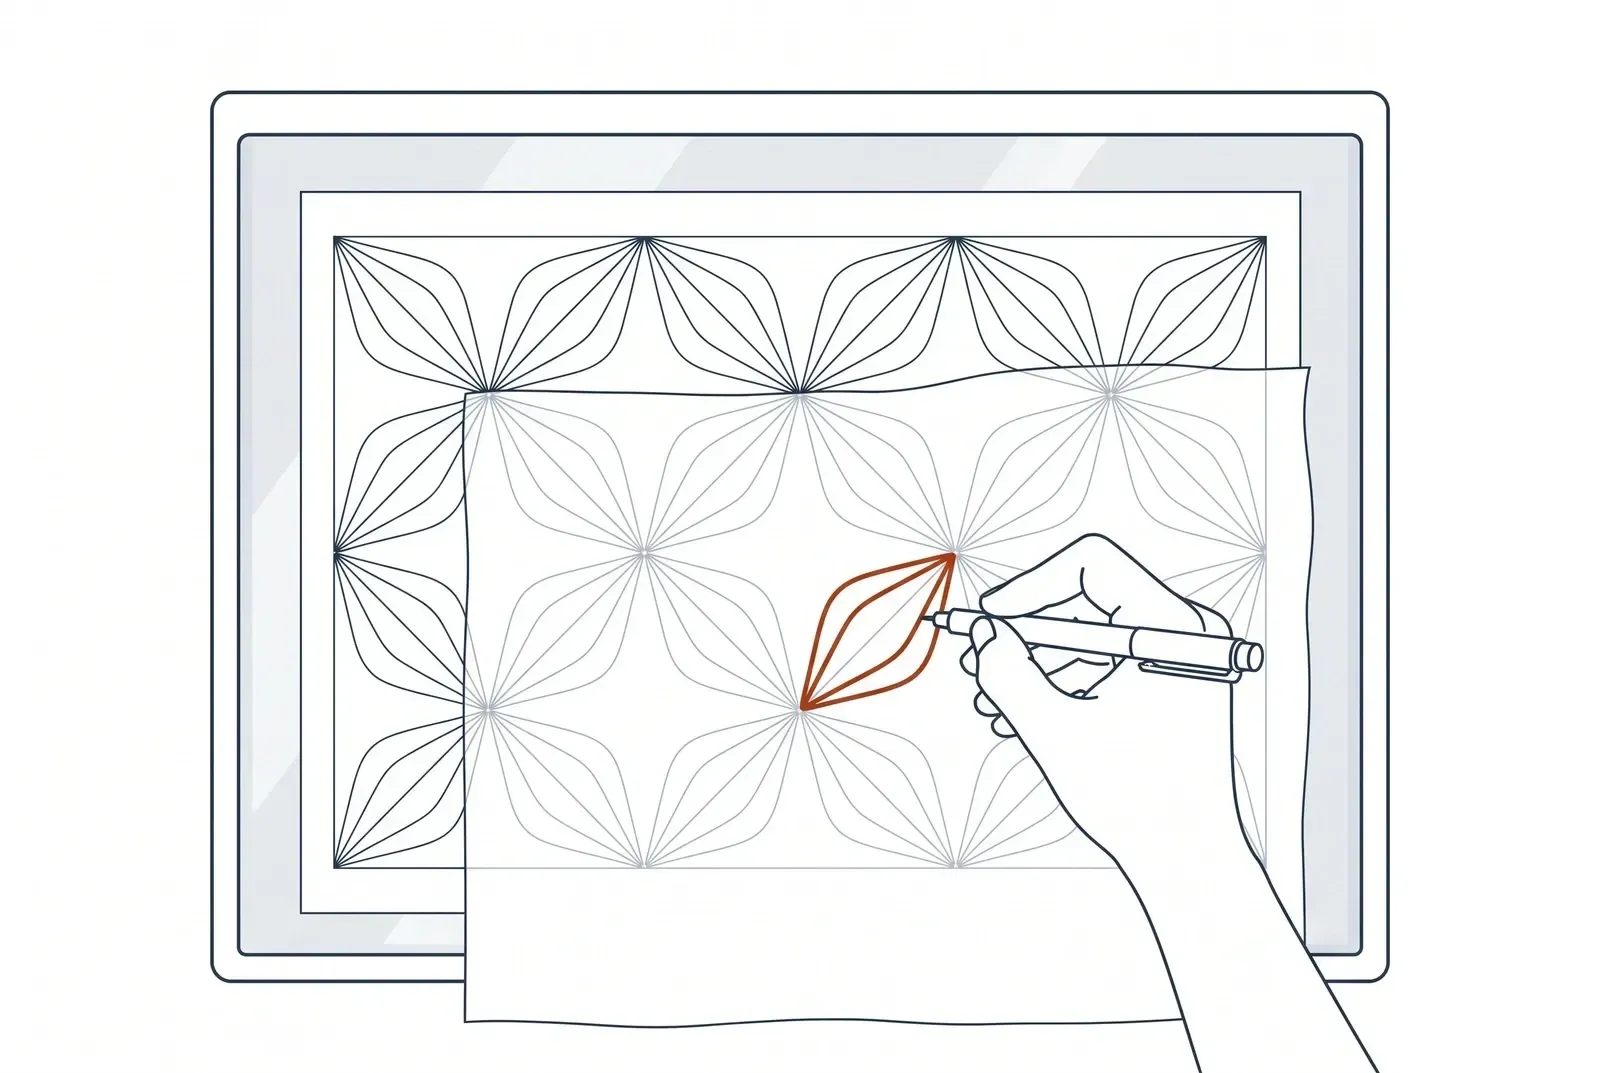
I printed the pattern and taped the paper to the lightbox, then placed the fabric on top. The paper stayed fixed while I moved the fabric as needed, tracing one repeat at a time onto the top layer. This works well on light-colored fabric; other transfer methods are covered in How to transfer a sashiko pattern to fabric.
Start tracing from the center point marked in the last step, leaving a half-inch to an inch of bare fabric on each side so the stitched pattern itself ends up a little smaller than the finished cloth around it.
Stitching the hanafukin
- Keep both layers aligned as you stitch. Because the fabric was folded before marking, the pattern sits on the top layer while both layers move together. Stitch through both as one unit, not one layer at a time.
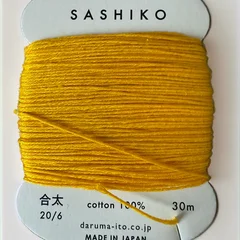
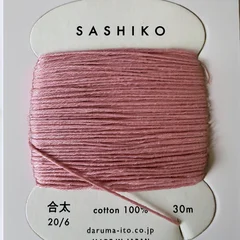
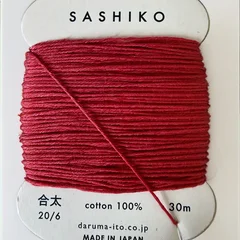
- Choose the color rule before you start. I used golden yellow (Daruma #204) for the straight spokes, then alternated dusty rose (#211) and dark pink (#221) from petal to petal. Any three-color rule works if it repeats the same way from flower to flower.
- Work through both layers deliberately. A doubled cloth takes more effort than a single layer. Use a sturdy needle and thimble, and push with a firm, steady motion instead of forcing the thread through.
- Finish every thread end by weaving it through the back of nearby stitches, no knots. A hanafukin gets used and washed like any other kitchen towel, so knots that could work loose aren’t worth the risk.
- Test the thread for colorfastness before the first real wash. Dab a scrap end of each color with a damp white cloth and check for any color transfer, then wash the finished piece on its own in cold water the first time.
- Iron the fabric once the stitching is done to erase the marking pen lines. FriXion ink disappears with heat, so a few passes with a warm iron clears the traced lines completely, leaving just the stitching behind.
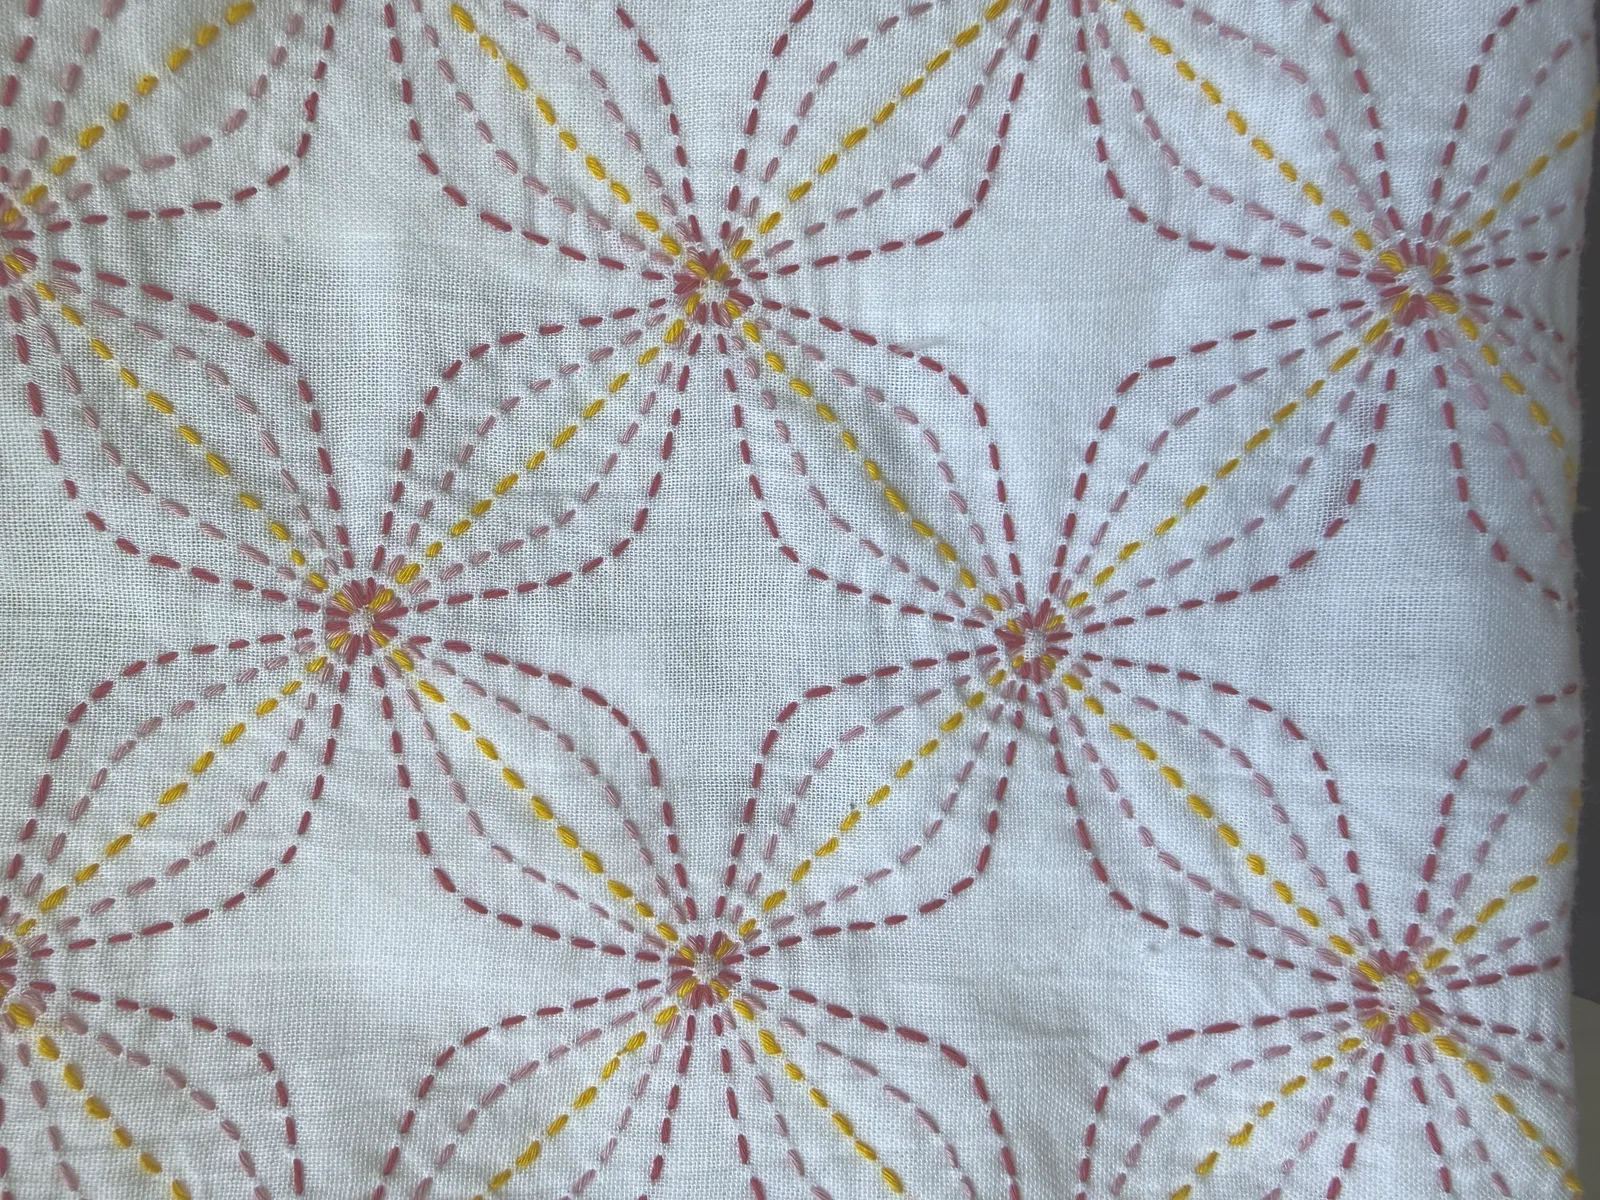
Once it’s finished, put it to work as a kitchen towel first. I’m keeping this one for my own kitchen, but it would make a good practical gift too.